The Big Island is Hawaii’s largest island with a variety of activities and adventures that await your family.
Days: 7 & 8
Day 7: The Big Island (Hilo)
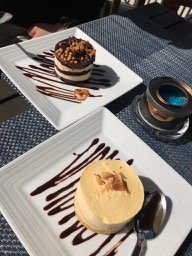
I looked forward to breakfast every morning because if you are in a suite, then you get to eat at a table service restaurant for breakfast and lunch, called Cagney’s. They had amazing breakfasts (even though service was a bit slow, I still recommend it but just allow enough time). Way better than the buffet that most of the ship was eating at. They had the best Belgian waffles with a huge lump of whipped cream on top. Yum!! You could order pretty much anything from omelettes to seafood eggs Benedict. They also had a buffet style set up for fresh fruit, yogurt, cereals, and other continental type breakfast items if you didn’t have time to order food.
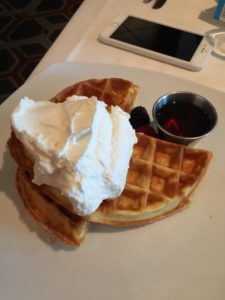
The best Belgian waffles in Cagney’s
The main attraction near the Hilo cruise stop on the Big Island, is Hawaii Volcanoes National Park (VNP). It encompasses two active volcanoes: Kīlauea, one of the world’s most active volcanoes, and Mauna Loa, the world’s most massive shield volcano. To get to the VNP, we took a 10 minute shuttle to the airport to get our rental car for the day. They upgraded us to a Ford Expedition. It was about a 45 minute drive to VNP on a two lane highway from the car rental location.
It’s a good idea to start at the VNP Visitor Center to get information about where to visit, what trails are open, what ranger-led activities are going on, safety tips, etc. You can also watch a short video and explore a few small exhibits.
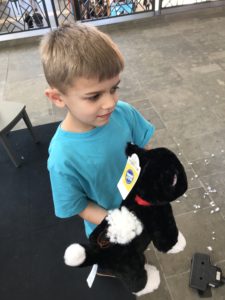
Travel Tip: If you have elementary or middle school aged children, they might be interested in signing up for the Jr. Park Ranger program that most Federal Park Services have. They have a booklet with pages of questions that kids have to research and find the answers to throughout the park. Once completed, they return to the visitor’s center and turn it in to get checked. Yes the park employees actually checked their answers. They then get to take a Jr. Ranger oath, get a plastic pin on badge, and their name announced over the loud speaker at the visitors center telling everyone that your child is now a Jr. Park Ranger.
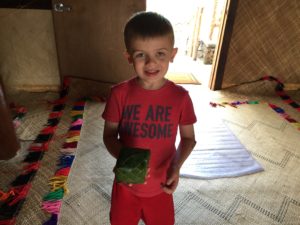
My son was SO proud of himself for earning the Jr. Ranger badge. I will warn you, the booklet is extensive and we had to rush through it which caused a bit of stress. I even had a hard time finding the answers myself to some of the questions. If we had all day at VNP, then we could have taken our time but we were a bit rushed. It was worth the pain to see his smile! Even without doing the ranger booklet, I would still plan on VNP taking the whole day (mostly if you have older kids that can read, younger ones wouldn’t be entertained as much and probably wouldn’t last all day). We didn’t get to see everything there since we only had a half day. I really wanted to get a tour or at least hike to get closer to the lava flow near where it enters the ocean. I decided against it because depending on the route of flow, it can be a several mile walk on sharp jagged lava rock, not something small children could do so we didn’t do it. You can also take a boat tour with a private company to view the lava flow from the ocean, but the boats aren’t allowed to get very close anymore so wasn’t sure the $200+ per person price tag would be worth it.
One of the best parts of VNP, is driving to the Jaggar museum to see the lava bubbling up from the crater.
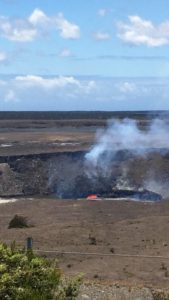
Close view of the Kīlauea’s active vent Halemaʻumaʻu
The seismograph inside the museum was pretty cool to see too.
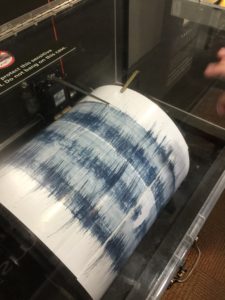
Seismograph at the Jaggar Museum
On the way to Jaggar, there are various steam vents. You can get out to get a closer look but not too close as they are HOT. We just drove by since you could see steam from the road and we had limited time.
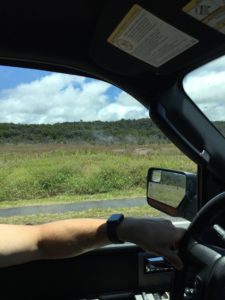
Steam vents in the distance
Also, don’t miss the lava tube. The lights weren’t working inside when we got there so I’d recommend bringing a flashlight or headlamps just in case. Cell phone lights are not bright enough. Also there are some 2-3 inch water puddles and uneven surfaces inside the tunnel. Parking is limited right near the lava tube so we had my husband drop us off while he waited for a spot to open up.
Travel Tip: If I were to choose another guided tour to do, it would probably be here at VNP just due to limited parking in the park and also to get some educational tidbits and stories from the guide. I overheard some interesting stories from a guide of a group as I was passing by.
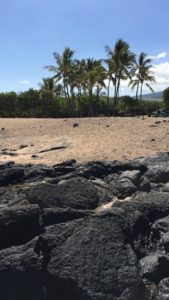
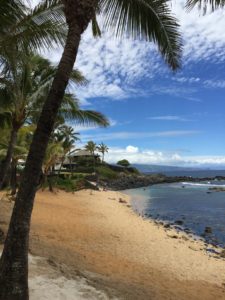
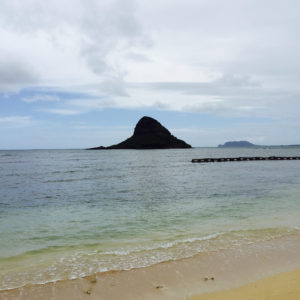
After VNP, we visited Punalu’u Beach, one of the black sand beaches located near Hilo.
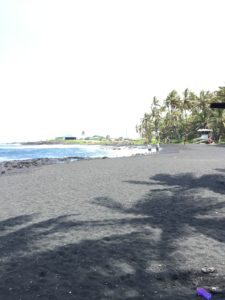
Punalu’u Beach
It was a neat sight to see if you’ve never seen a black sand beach.
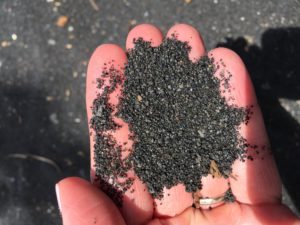
You aren’t allowed to take any home with you, but I think a little bit of it got into my shoe while I was there (wink, wink). I’ve heard of others taking some back with them but they didn’t get caught so I guess they don’t do a bag search or anything. Unfortunately I only saw one turtle swimming in the distance. We headed back and were running a bit late. We had planned on Donnie dropping us off at the cruise ship and then driving back to the rental agency and taking the shuttle back to the ship. We noticed a ton of slow traffic coming from the ship so we decided we’d all just go back to the rental agency and take a shuttle instead of him dropping us off. Many others were running behind so the kids and I barely made it onto the shuttle. Donnie had to wait for the next one because there was no room but that meant it would be another 20 minutes at least since I think there was only one plus all the traffic coming back that we saw earlier. I texted Donnie to just hop on another agency’s shuttle, which he did. Thankfully they didn’t ask for a receipt and he made it back to the ship with just 15 minutes to spare for boarding time.
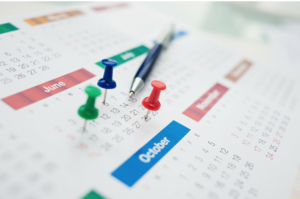
Travel Tip: Make sure you plan to return to the ship at least two hours before the boarding time listed on the gangway. You never know when traffic or other things come up and can make you miss the ship. Worst case, he would just have to drive to Kona and stay the night somewhere for the next port day there but still it would have been a pain and most of the times on cruises, it would not have been that easy to catch up with the ship.
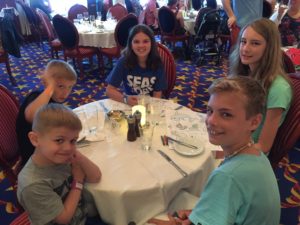
That night, we had dinner at Teppanyaki (Japanese hibachi style restaurant) which was entertaining and had good food.
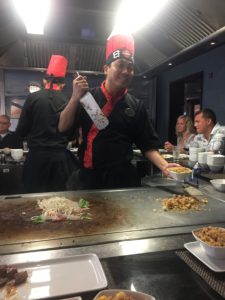
Teppanyaki (specialty restaurant)
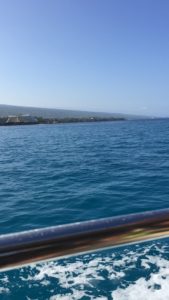
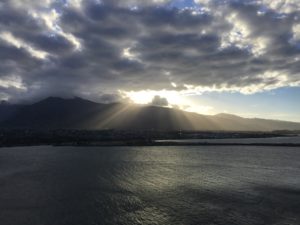
This night was also the night that the ship cruised by the lava flow into the ocean on our way to Kona on the western side of the island. The flow varies and I felt lucky we were able to see a good amount of the flow.
Stream of lava from the Kilauea volcano pours into the Pacific Ocean
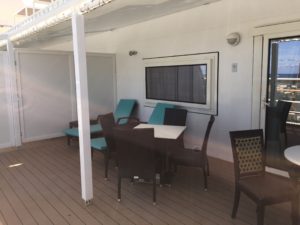
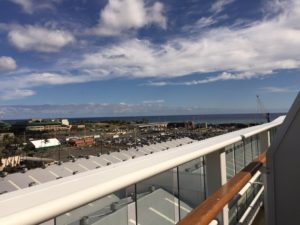
Travel Tip: If you go on the Pride of America 7 night cruise, check the route of the ship. The ship only goes by the lava flow once and it is closest to the Starboard Side (right). We had a private lava viewing party in our suite with all of my family on our huge balcony. Also, don’t forget your binoculars and night time camera lenses!
Day 8: The Big Island (Kona)
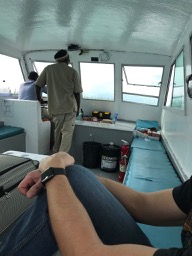
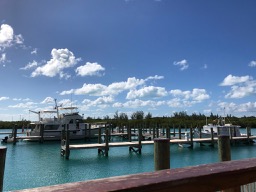
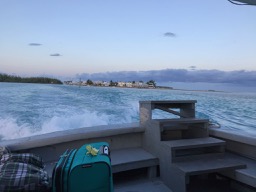
At the port in Kona, you have to take a tender boat to get onto the island. Suite guests were able to have priority boarding which was nice, otherwise you were assigned a time slot depending on if you had an excursion or not. We met Chris, the concierge, at the Wine Bar so he could get us on the tender ahead of most of the other passengers. Like a Disney Fast Pass.
Tendering to Kona
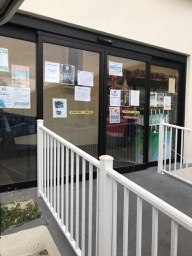
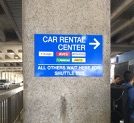
Once we were on shore, we walked over to get our rental car at the Courtyard Marriott King Kamehameha hotel.
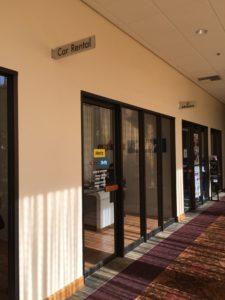
Car rental agency
We had a reservation with Big Island Air, an airplane tour operator later that day. I was too chicken to ride in a helicopter although I might try it next time. Helicopters are able to get a little bit closer and have more maneuvering flexibility, but I don’t regret the airplane tour at all as it was longer and we saw more things for the same price. More on that later.
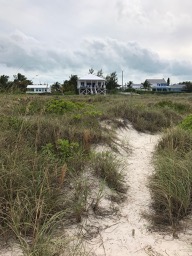
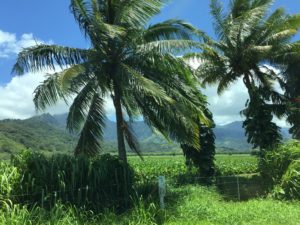
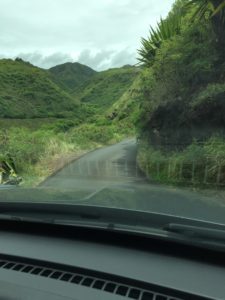
On our way to our plane, we had some time. I wanted to stop at a pineapple plantation since we didn’t get to on Maui. Instead, we accidentally came upon Kekaha Kai State Park. The only way in is to drive on an unpaved lava road through an old lava field. We had a sedan, and barely made it. If you have a compact car with a low frame or have a bad back, don’t drive it. It is super bumpy but it was pretty fun! Distance wise it isn’t far but it takes a long time due to the terrain. You have to drive really slow. But it was cool to drive through a lava field.
Lava road into the park
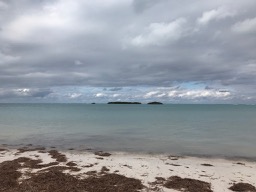
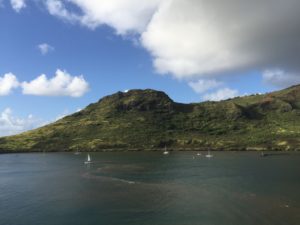
Looking out into the North Pacific Ocean
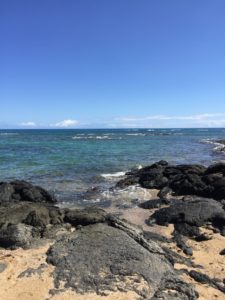
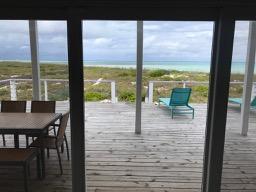
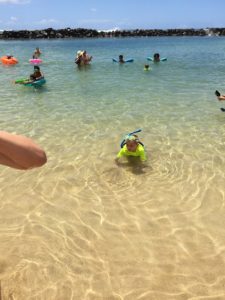
At the end, you come to at a rocky beach. The shore, like many beaches in the islands here, was jagged lava rock. I wouldn’t swim in that particular location, but we saw a lot of sea life hiding around the rocks. There are also picnic tables and bathrooms.
View from the shore looking back onto the beach
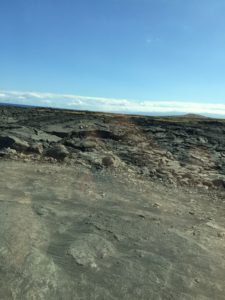
On the drive back out, we stopped and walked around the lava field that you have to drive through to get to the beach. It was pretty amazing to see acres of the black, harsh, jagged lava terrain. Since I didn’t get to hike on any at VNP, this definitely made up for it. I had never seen anything like it before.
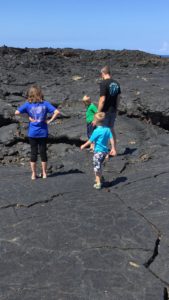
Lava field
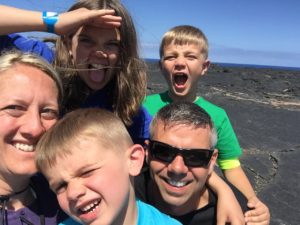
Lava selfie
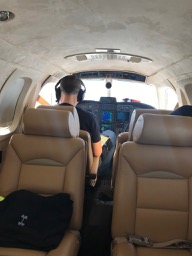
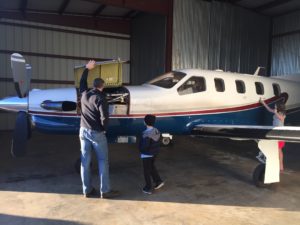
We took off towards the airport to meet with our pilot, Rex, at Big Island Air. They were really nice and easy to work with there. I felt totally safe with our experienced pilot. I also felt safe because my husband, a trained pilot, got to sit up in the co-pilot seat, so we were in good hands if something happened to Rex.
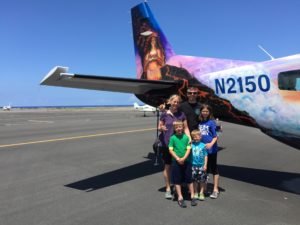
Before our plane tour with Big Island Air
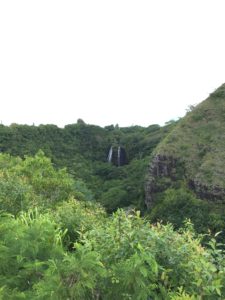
Our flight was a 1 hour and 45 minute flight around the island to see volcanos, water falls, canyons, macadamia nut tree farms, and more. It was amazing!
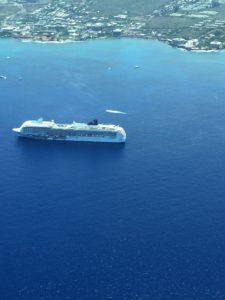
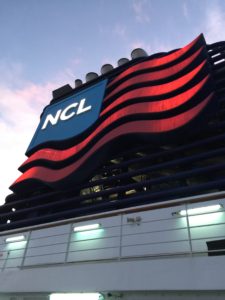
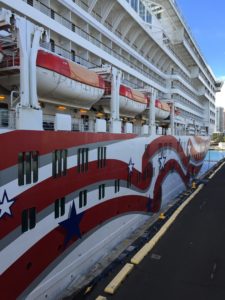
Our cruise ship, Pride of America

View of the Halema’uma’u crater from the air
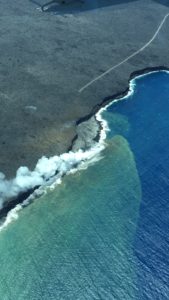
Kamukona ocean entry of lava flow
I couldn’t believe how close we go to the large green mountain cliffs (think Jurassic Park) in an airplane.
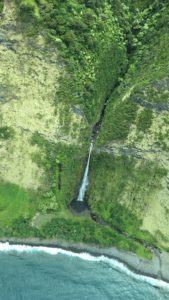
Waterfall in Kohala Forest Reserve
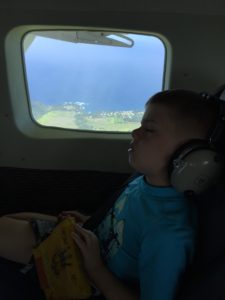
A very expensive nap
After our plane tour, we drove back to the rental car agency at the Marriott hotel. As soon as we got there, we realized Blake left his snorkel gear at the beach park so went all the way back to get it. Yet another reason to allow enough of a buffer time between the time you get back on the ship and the time the ship cruises away. We obviously would have left the gear if we risked missing the ship, but since we had allowed enough time, we were able to double back. After returning the car, we walked over to wait in line for the tender boat.
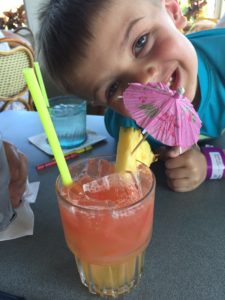
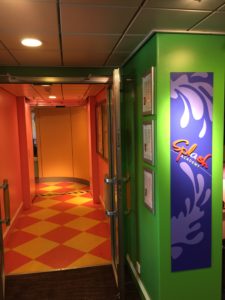
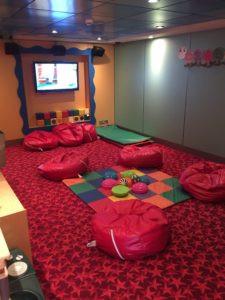
That night, the kids went to the Splash Academy again for dinner and to play. The counselors take the kids to a certain restaurant each night for dinner. One night they got to go to the Cadillac Diner, a super cute retro themed restaurant with burgers and shakes. Donnie and I had dinner with my parents at Il Moderno, the brazilian steakhouse on the ship. This was one of the specialty restaurants that we chose with our package. We had a great package that came with the choice of three of the specialty restaurants for two people for free. The food was pretty good. Surprisingly, my favorite thing was the Brazilian cinnamon and brown sugar grilled pineapple!
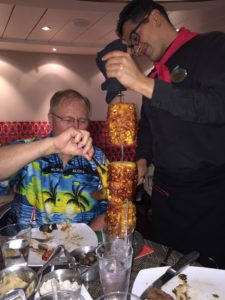
My dad getting some cinnamon and brown sugar grilled pineapple at Il Moderno
I have a tradition on every cruise to get a massage. After dinner, I went to the spa for my lomi lomi (Hawaiian massage). I will admit that it wasn’t the best I’ve ever had. I felt like the therapist was rushing to get done because it was late and I was her last appointment for the day. The table was cold and small and just had a thin sheet covering me. I feel like the price I paid was not equal to what I received. Oh, well! Things could be worse.

Spa lounge/waiting area
Afterwards, I got the kids out of Splash Academy at 10:30pm. Would you believe that they still wanted to play and begged me to let them stay longer? Of course I didn’t because I knew they would be little beasts the next day with no sleep. But that was a good sign that they were having a blast!
Check out Adventures in Hawaii: Part 4


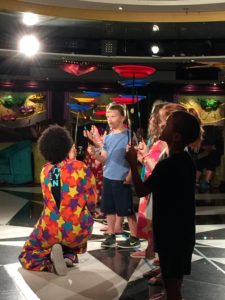
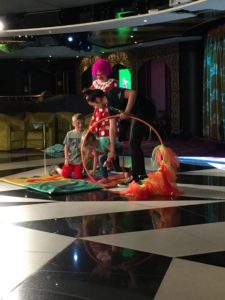
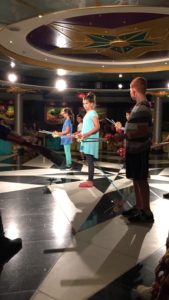


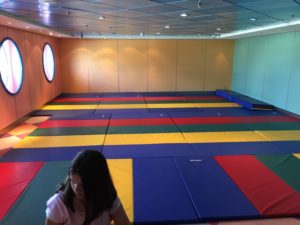
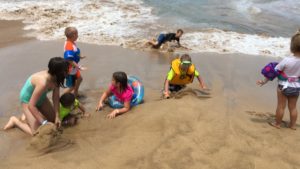


 They also got in a little spear throwing.
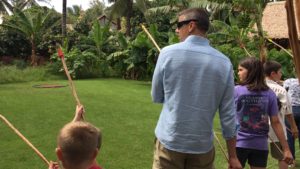
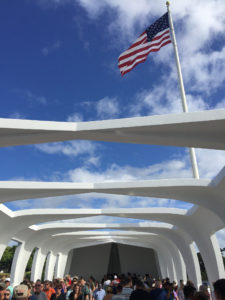 U.S.S. Arizona Memorial
 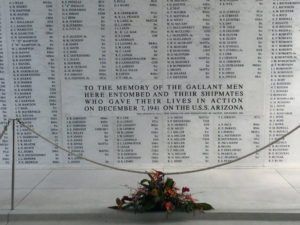 Names of fallen soldiers
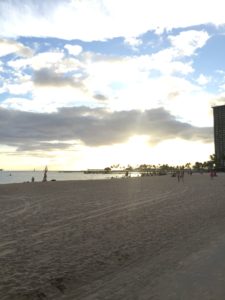
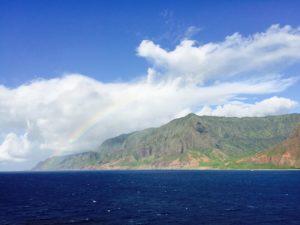
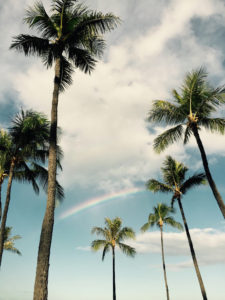 Rainbow over Waikiki Beach